
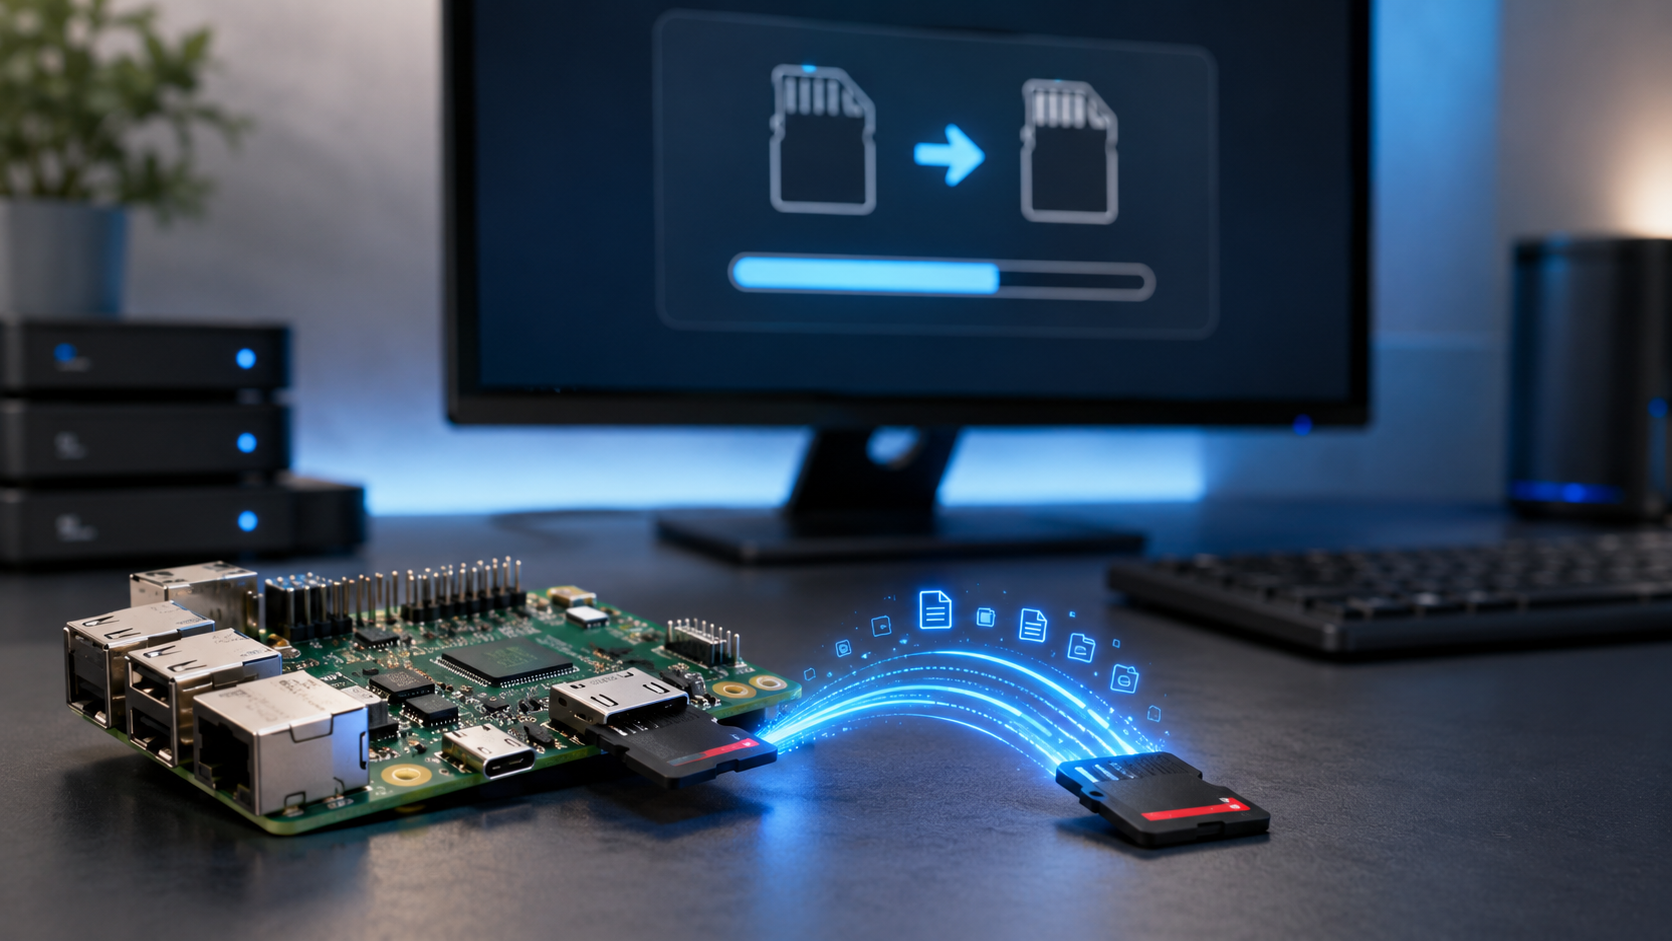
Cloning a Raspberry Pi SD card is one of the easiest ways to preserve a working Raspberry Pi setup. If your Raspberry Pi already has the operating system, applications, files, network settings, and other configurations you need, you may not want to start from scratch when replacing the SD card.
A clone creates a copy of the SD card that can be written to another compatible card. This can be useful when you need a backup, want to move to a larger SD card, or need a replacement for an aging card.
Unlike copying a few folders, cloning an SD card can preserve the complete storage layout, including the operating system and partitions. This makes it especially useful for Raspberry Pi projects where the system has been customized over time.
Raspberry Pi OS is the official operating system for Raspberry Pi computers, and Raspberry Pi provides tools for working with storage devices and OS images.
In this guide, you will learn how to clone an SD card for Raspberry Pi using a computer, how the process works on Windows, macOS, and Linux, and what to check when moving your system to a larger SD card.
What Does Cloning an SD Card for Raspberry Pi Mean?
SD card cloning means creating a complete copy of one storage card and transferring that copy to another card.
Think of the original SD card as the source and the new SD card as the destination.
A normal file copy might transfer documents, photos, or project folders. It does not necessarily reproduce the complete Raspberry Pi system. A full SD card clone can preserve much more, including:
- Raspberry Pi OS
- Installed applications
- User files
- System settings
- Network configuration
- Partitions
- Boot information
- Other data stored on the card
This is why cloning can be useful for Raspberry Pi projects.
For example, imagine you have spent several weeks setting up a Raspberry Pi for a home server or programming project. You have installed your software, configured the network, changed system settings, and stored important files.
If the original SD card develops a problem, reinstalling everything could take considerable time.
A previously created image or clone can make recovery much easier.
Raspberry Pi’s own documentation lists the SD Card Copier application as a tool that can clone cards and drives.
Cloning vs. Copying Files
The difference is important.
File copying moves selected files from one location to another.
SD card cloning creates a much more complete copy of the storage device.
A clone is therefore useful when your goal is to reproduce an existing Raspberry Pi installation rather than simply save individual documents.
However, cloning should not be treated as your only backup method. If the source card is corrupted or a mistake is made while creating the image, you could lose access to important information. Keeping separate backups of critical files is a good practice.
What You Need Before Cloning a Raspberry Pi SD Card
Before starting, prepare the equipment and storage you need.
1. The Original Raspberry Pi SD Card
This is the card containing the Raspberry Pi installation you want to duplicate.
Make sure the system is working correctly before creating the clone. If possible, check important files and applications first.
2. A Computer With an SD Card Reader
A Windows PC, Mac, or Linux computer can be used for many cloning workflows.
If your computer does not have a built-in SD card slot, you can use a compatible USB card reader.
3. A Destination SD Card
The destination card is where the clone will be written.
For a simple full-image workflow, the destination should have enough capacity for the image being written. Cards advertised with the same nominal capacity can also have slightly different usable capacities, so checking compatibility before starting is important.
If you are moving from a smaller card to a larger card, the process is generally easier because the new card has more available capacity.
4. Backup Storage
If you are creating an image file on your computer, you need enough free storage space to save it.
An SD card image can be large, so check your computer’s available disk space before beginning.
5. A Reliable Card Reader
A poor-quality or unstable card reader can cause read or write failures.
Raspberry Pi notes that SD card quality is an important factor in system performance and reliability.
Important: Check the Destination Carefully
Cloning software writes data to the destination device.
Selecting the wrong drive can overwrite valuable information.
Before clicking a button such as Write, Restore, or Flash, carefully confirm that you have selected the new SD card.
This is one of the most important safety steps in the entire process.
How to Clone SD Card Raspberry Pi
The basic process can be divided into three stages:
- Create an image or backup of the original SD card.
- Write that image to the new SD card.
- Test the new card in the Raspberry Pi.
The exact interface depends on your operating system and software.
A useful way to understand the process is to think of an SD card image as a snapshot of the storage device.
First, the computer reads the source card and creates an image file.
Then the image file is written to the destination card.
Once the process finishes, the new card can be tested in the Raspberry Pi.
Raspberry Pi’s official magazine describes this image-based approach as copying the entire SD card into an image file and then using that image to restore the operating system and data to another card.
Step 1: Shut Down the Raspberry Pi
If you are using a computer to clone the card, shut down the Raspberry Pi normally.
Avoid removing an SD card while the Raspberry Pi is actively writing data.
Step 2: Remove the Original SD Card
After the Raspberry Pi has powered down, remove the microSD card.
Insert it into your computer using an SD adapter or USB card reader.
Step 3: Create an Image
Use suitable imaging or disk-management software to read the source card.
Save the image somewhere with enough free storage.
Give the image a clear name, such as:
raspberry-pi-backup-september-2026
A descriptive filename can make future backups easier to identify.
Step 4: Insert the New SD Card
Remove the source card safely and insert the destination card.
Make sure the destination is the card you intend to overwrite.
Step 5: Write the Image
Choose the saved image and write it to the destination SD card.
The process can take some time depending on the card capacity, card speed, reader, and computer.
Do not interrupt the process while data is being written.
Step 6: Safely Eject the Card
When writing has finished, safely eject the SD card from the computer.
Then insert the cloned card into the Raspberry Pi.
Step 7: Test the Clone
Power on the Raspberry Pi.
Check whether it starts normally.
Then verify your important applications, files, network settings, and project configuration.
Never assume a backup is good simply because the cloning software reported that the operation completed successfully.
How to Clone a Raspberry Pi SD Card on Windows
Windows provides several tools that can read an SD card into an image and write an image back to another card.
The general workflow is straightforward.
1. Insert the Original SD Card
Connect the Raspberry Pi’s original SD card to the Windows computer.
Wait for Windows to recognize the storage device.
2. Identify the Correct Card
Check the card’s capacity and drive information.
This step is important because your computer may have other storage devices connected.
3. Create a Backup Image
Open your preferred disk-imaging application and select the option to read the SD card into an image file.
Choose a location with enough free disk space.
Wait until the image creation process is complete.
4. Insert the Destination Card
Safely remove the original card.
Insert the new SD card.
Again, verify the destination device carefully.
5. Write the Image
Select the image you created earlier.
Choose the new SD card as the destination.
Start the writing process.
Remember that writing an image normally replaces the existing contents of the destination card.
6. Safely Eject the Card
After the process finishes, safely eject the SD card.
Insert it into the Raspberry Pi and start the system.
7. Check the Installation
Confirm that Raspberry Pi OS loads.
Then check your important files and applications.
Raspberry Pi’s documentation explains that Raspberry Pi OS can be installed using Raspberry Pi Imager on Windows, Mac, and Linux, while image-based backup and restoration is a separate workflow for preserving an existing system.
How to Clone a Raspberry Pi SD Card on macOS
macOS can also be used to create and restore SD card images.
The basic process is similar to Windows, but macOS uses different disk naming conventions.
1. Connect the SD Card
Insert the Raspberry Pi SD card into your Mac.
Make sure the card is detected.
2. Identify the Correct Disk
macOS may show storage devices using names such as /dev/disk2.
The number can be different on your computer.
This is why you should never copy a command from a tutorial without first checking which disk represents your SD card.
Raspberry Pi’s own backup guidance highlights the importance of identifying the correct disk before creating an image.
3. Create the Image
Use suitable disk-imaging software or an appropriate macOS storage workflow to create an image of the source card.
Save the image to your Mac or another backup location.
4. Connect the Destination Card
Remove the source card safely and insert the new card.
Identify the destination disk again.
5. Restore the Image
Write the saved image to the destination SD card.
Double-check the destination before starting.
6. Eject and Test
Safely eject the card.
Insert it into the Raspberry Pi and power it on.
If everything worked correctly, the cloned system should contain the same operating system, applications, files, and settings represented in the source image.
How to Clone a Raspberry Pi SD Card on Linux
Linux provides powerful tools for creating and restoring disk images.
It is also important to be especially careful because commands that operate directly on storage devices can overwrite data immediately.
Step 1: Connect the Source Card
Insert the original Raspberry Pi SD card into the computer.
Step 2: Identify the Device
Determine which device represents the SD card.
Do not assume that a device name such as /dev/sdb will always refer to the SD card.
Device names can change depending on what storage devices are connected.
Step 3: Create the Image
Create an image backup of the source device using a suitable imaging tool.
Save it to a location with sufficient storage.
Step 4: Disconnect the Source and Connect the Destination
Remove the original card safely.
Insert the destination SD card.
Identify the destination device again.
Step 5: Write the Image
Write the image to the destination card.
Before confirming the operation, verify the destination device one more time.
Step 6: Verify the Clone
After the image has been written, safely eject the card.
Insert it into the Raspberry Pi and test the system.
Linux is powerful for storage management, but it also gives users tools that can overwrite an entire disk when used incorrectly. Beginners should therefore use a graphical imaging application when possible and carefully verify every device selection.
How to Clone Raspberry Pi SD Card Directly on Raspberry Pi
You can also clone a Raspberry Pi SD card without necessarily using a separate computer.
This can be useful when you have an external SD card reader connected to the Raspberry Pi.
Raspberry Pi OS includes an SD Card Copier application for cloning cards and drives. Raspberry Pi lists this application among its software sources.
The general workflow is:
- Connect a suitable external storage reader.
- Insert the destination SD card.
- Open the SD Card Copier tool if available on your installation.
- Select the correct source and destination.
- Start the copying process.
- Wait for the operation to finish.
- Safely remove the destination card.
- Test it separately.
There is an important limitation here.
If the Raspberry Pi is actively running from the SD card you are trying to copy, that card is being used by the operating system. Files may change during the cloning process.
For the most reliable backup, shutting down the Raspberry Pi and imaging the card from another computer can reduce the chance of changes occurring during the backup.
Do not attempt to overwrite the card that the Raspberry Pi is currently running from.
Can You Clone a Raspberry Pi SD Card to a Larger SD Card?
Yes, moving a Raspberry Pi installation to a larger SD card is a common reason for cloning.
For example, you might have an older 32 GB card and want to move your existing setup to a 64 GB or 128 GB card.
After cloning, however, the Raspberry Pi may initially see the original partition layout rather than automatically using all the additional capacity.
Current Raspberry Pi documentation explains that Raspberry Pi OS normally expands the file system automatically on first boot in many cases. If necessary, the filesystem can also be expanded manually using raspi-config.
If the extra space is not available after cloning, check the partition and filesystem layout before making changes.
A typical manual approach on supported Raspberry Pi OS installations is to open a terminal and run:
sudo raspi-config
Then use the appropriate filesystem expansion option.
Only make changes when you understand which storage device you are modifying.
What About Cloning to a Smaller Card?
This is more complicated.
A simple full-device image may contain partitions that extend beyond the capacity of the smaller card, even if much of the space is unused.
Therefore, do not assume that a 64 GB card can always be cloned directly to a 32 GB card simply because the actual files occupy less than 32 GB.
For a smaller destination, the source filesystem and partitions may need to be reduced first, using an appropriate storage-management workflow.
For beginners, moving to a card of equal or larger capacity is generally simpler.
How to Verify a Cloned Raspberry Pi SD Card
Verification is one of the most important steps.
A clone that has never been tested should not be considered a fully trusted backup.
1. Safely Eject the Card
After imaging is complete, safely eject the destination SD card from the computer.
2. Insert It Into the Raspberry Pi
Remove the original card from the Raspberry Pi if necessary.
Insert the cloned card.
3. Start the Raspberry Pi
Connect power and wait for the system to boot.
4. Check Raspberry Pi OS
Make sure the operating system starts normally.
Look for unusual boot errors or missing services.
5. Check Your Files
Open several important files and folders.
If you use the Raspberry Pi for a project, check the project files too.
6. Check Applications
Launch the applications you rely on.
If the Raspberry Pi is used as a server, verify the services that matter to you.
7. Check Network Settings
Confirm that the Raspberry Pi can connect to your network as expected.
8. Check Storage
If you moved to a larger SD card, confirm whether the additional storage is available.
Testing the clone gives you confidence that the backup is actually usable.
Common Problems When Cloning Raspberry Pi SD Cards
Destination SD Card Is Too Small
A destination card that cannot hold the required image may cause the operation to fail.
Use a card with enough capacity or prepare the source filesystem appropriately before attempting a smaller-card migration.
Clone Fails During Imaging
Possible causes include:
- Bad SD card
- Faulty card reader
- Unstable USB connection
- Corrupted source data
- Insufficient computer storage
- Software problems
Try checking the hardware before repeatedly attempting the same operation.
Raspberry Pi Does Not Boot From the Cloned Card
Possible causes include:
- The image was not written correctly.
- The destination card has a problem.
- The source installation was already damaged.
- The imaging process was interrupted.
- The card is not compatible or reliable enough.
Try testing the original card. If the original also has problems, the issue may be with the source installation rather than the clone.
Incorrect Storage Device Was Selected
This is one of the most serious mistakes.
Selecting the wrong destination can overwrite another drive.
Always verify:
- Device name
- Storage capacity
- Connection type
- Source device
- Destination device
before starting an operation that writes to a disk.
Corrupted Source SD Card
If the original SD card is already corrupted, the resulting clone may preserve those problems.
This is why it is better to create backups before the SD card starts showing signs of failure.
File-System or Partition Problems
A clone may contain the same partition structure as the original.
When moving to a different capacity, the filesystem may need to be expanded or otherwise adjusted.
SD Card Reader Problems
A faulty reader can cause intermittent errors.
If possible, try another reader or USB port.
Cloning vs. Backing Up a Raspberry Pi SD Card
Cloning and file-based backups serve different purposes.
| Feature | Full SD Card Clone | File-Based Backup |
|---|---|---|
| Raspberry Pi OS | Preserved | May need separate installation |
| Applications | Preserved | Must be backed up or reinstalled |
| System settings | Preserved | Depends on what you back up |
| Individual files | Preserved | Preserved if selected |
| Easy full-system recovery | Yes | Usually requires more steps |
| Selective file recovery | Less convenient | Easier |
| Useful for migration | Excellent | Good |
| Useful for individual documents | More than necessary | Excellent |
When Cloning Is Better
Cloning is useful when you want a complete copy of a working Raspberry Pi environment.
For example, it can help when:
- Replacing an old SD card
- Creating a spare card
- Moving to a larger card
- Preserving a configured Raspberry Pi project
- Creating a quick recovery option
When File-Based Backup Is Better
A file-based backup can be better when you only need important documents, project files, configurations, or other selected data.
It can also make it easier to recover one specific file without restoring an entire SD card.
For important projects, using both approaches can be a strong strategy: keep a full system image and maintain separate copies of critical files.
Tips for Safely Cloning Raspberry Pi SD Cards
Follow these practices before and during the cloning process.
Back Up Important Files First
Even though cloning is intended as a backup method, creating another copy of critical files adds protection.
Confirm Source and Destination
Check the source and destination more than once.
The source is the card you want to copy.
The destination is the card you are willing to overwrite.
Avoid Interrupting the Process
Do not unplug the card reader or shut down the computer while an image is being created or written.
Use a Reliable SD Card
SD card quality affects Raspberry Pi reliability and performance. Raspberry Pi specifically highlights SD card quality as an important factor.
Keep Multiple Backups
For important projects, consider keeping more than one backup.
A single backup can fail.
Label Backup Images
Use clear names that include information such as:
- Raspberry Pi project
- Date
- OS version
- Card size
For example:
raspberry-pi-project-backup-2026-09.img
Test Backups Periodically
A backup is much more useful when you know that it can actually be restored.
Periodically test a spare SD card or restoration workflow.
FAQ
Can I clone my Raspberry Pi SD card to another SD card?
Yes. You can create an image of the original SD card and write that image to another compatible SD card. You can also use the SD Card Copier application on supported Raspberry Pi OS installations. Raspberry Pi lists SD Card Copier as an application for cloning cards and drives.
What is the easiest way to clone a Raspberry Pi SD card?
For many beginners, an imaging application with a graphical interface is easier than using command-line disk tools. The basic process is to create an image from the source card and write it to the destination card.
Can I clone a Raspberry Pi SD card to a larger card?
Yes. A larger card can be used as the destination. After cloning, the additional space may need to be made available to the operating system. Raspberry Pi OS commonly handles filesystem expansion automatically on first boot, while manual expansion is also possible when required.
Does cloning copy Raspberry Pi OS?
Yes. A full SD card image can preserve the Raspberry Pi OS installation along with applications, settings, files, and the storage structure represented in the image.
Can I clone an SD card without removing it from the Raspberry Pi?
Yes, depending on your setup, you can use an external card reader and a cloning tool such as SD Card Copier. However, because the running system may be actively using the source card, creating a backup from another computer after shutting down the Pi can be a safer approach for a consistent image.
Why won’t my cloned Raspberry Pi SD card boot?
Several issues can cause this. The image may not have been written correctly, the destination card may have a problem, the source card may contain corruption, or the cloning process may have been interrupted.
Start by checking the original SD card and then repeat the imaging process with a reliable destination card and reader.
Is cloning better than backing up a Raspberry Pi SD card?
Neither method is always better.
Cloning is excellent for creating a complete replacement or recovery card. File-based backups are often better for protecting individual documents and project files.
For important Raspberry Pi projects, using both methods can provide broader protection.
Conclusion
Learning how to clone an SD card for Raspberry Pi can save time and make system recovery much easier.
The basic process is simple: create an image of the original SD card, write that image to a suitable destination card, safely eject it, and test the result in your Raspberry Pi.
Cloning is useful for backups, migration, replacing aging cards, and moving an existing Raspberry Pi installation to a larger card. It can preserve Raspberry Pi OS, applications, settings, files, and other information stored on the original card.
The most important part of the process is not the software. It is careful device selection.
Always confirm which card is the source and which card is the destination before writing an image. A mistake at this stage can overwrite another storage device.
It is also important to remember that cloning should be part of a broader backup strategy. Keep separate copies of important files, use reliable storage, and test your backups from time to time.
If you move to a larger SD card, check whether the Raspberry Pi is using the additional capacity. Raspberry Pi documentation notes that Raspberry Pi OS commonly expands the filesystem automatically on first boot, with manual expansion available when needed.
With a careful workflow and a tested backup, cloning your Raspberry Pi SD card can give you a practical way to preserve a working system and recover from SD card problems with much less effort.

